
I’ve had the Rooting for You stamp and die set for ages and could not figure out a way to use it. My brain kept saying USE ALL THE STAMPS and I would get overwhelmed. I finally simplified the idea in my head based on the ink colors I knew I had and came up with this design.
Equipment
Lawn Fawn Rooting For You Lawn Cuts
Lawn Fawn Rooting For You Clear Acrylic Stamp Set
Lawn Fawn Stitched Hillside Lawn Cuts
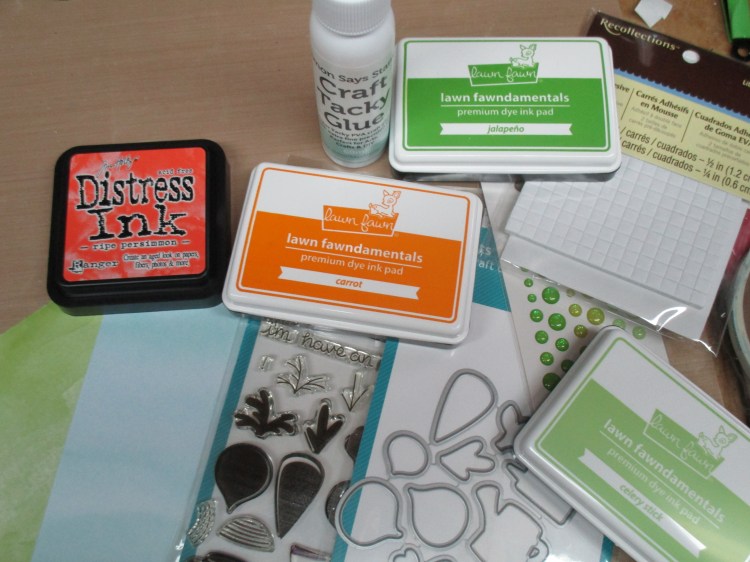
Lawn Fawn Celery Stick Dye Ink
Tim Holtz Distress Ink in Ripe Persimmon
Ranger Archival Ink in Jet Black
Lawn Fawn Watercolor Wishes 6×6 Paper Pad
My Favorite Things Blueprints 27 Die-namics
Tonic Nuvo Jewel Drops in Key Lime
Tonic Nuvo Jewel Drops in Sea Breeze
Doodlebug Limeade Glitter Sprinkles
Light Blue Cardstock (I don’t know for sure which brand it was, but it was similar to the color and product linked.)
Simon Says Stamp Crafty Tacky Glue
Michaels Recollections Foam Adhesive Squares
The Idea
As I said, I’ve been trying to figure out a reason to use this stamp set for ages. I was stopped cold because it’s a layering stamp and I didn’t feel like I had all the “right” ink colors to use it properly. Then I realized that I have a good variety of ink colors and I could mix and match products to get the look I wanted.
What I Did
I started out by first die cutting a piece of blue Watercolor Wishes paper to be the sky along with a piece of green for the grass. I actually really like the look of patterned paper as background for things like the sky or ground or a common object. I then die cut the green paper again with a stitched hillside die so it would have a stitched border all the around. I set that aside.
I stamped the carrot image four times on a piece of Neenah Solar White 80lb card stock. I wasn’t sure how many carrots I wanted to use for my scene, so I figured more was better than too few.
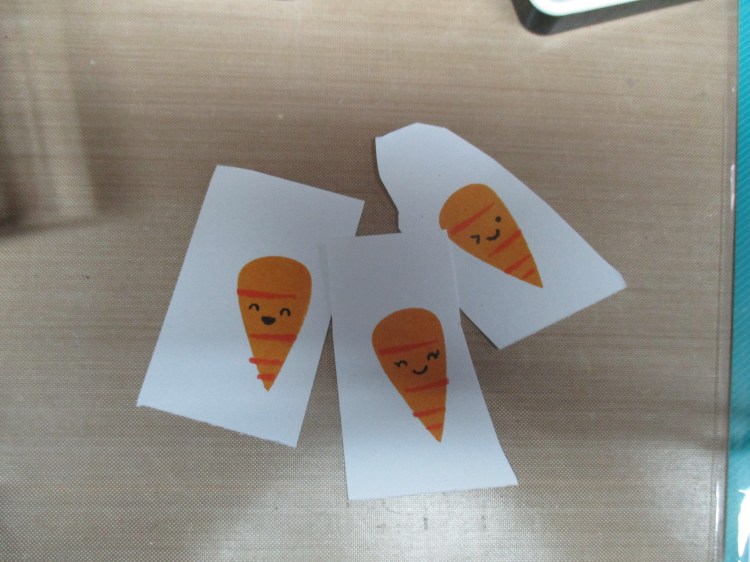
I used the Ripe Persimmon ink to stamp the carrot lines on them and then Archival Ink to stamp the adorable little faces. I did not snip apart the dies. Since none of the dies are nested, I took a tip from Amy R. at Prairie Paper & Ink and left them connected. It can make die cutting a little awkward, but it also means you’re less likely to lose a die…which I worry about.
I stamped the little carrot tops in the two green inks and cut those out, and then I stamped out the little garden sign in Walnut and stamped the word Carrots on it. I die cut that too and started playing around with the scene.
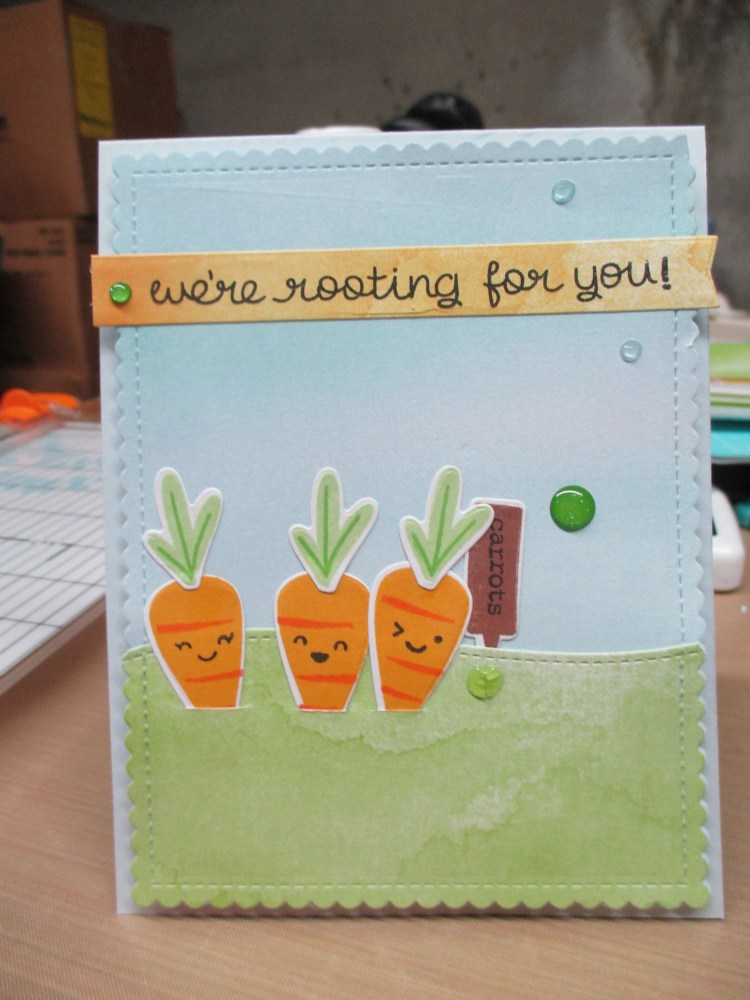
I wanted to let the blue card base act as a bit of an extension of the sky, so I didn’t want to use patterned paper as the backdrop. I felt like something was missing, though. The area above the scene was a bit empty. I played with the watering can a bit, but it would have been on the left side of the scene and that felt like it would be crowded. I realized I don’t have a sun stamp or die (I’ll probably remedy that soon) so I decided to use one of the sentiments from the stamp set on some light orange Watercolor Wishes paper to be like a sun. I stamped the “we’re rooting for you!” sentiment also in Jet Black Archival Ink, cut it out with a banner die from the Blueprints 27 Die-namics and popped it up on some foam squares.
Finally, I put the whole panel on a piece of adhesive craft foam and attached the whole thing to the card base. I then used some Nuvo Jewel Drops and the Doodlebug Sprinkles to add a little interest.
All in all, it’s another card I really like. I think the carrots are so cute and I’m trying to figure out who I can send it to to offer some encouragement!
Thank you for reading! Check out the Facebook page. Share some of your crafting there and we’ll see you here back soon!
