I wanted to use the coffee cup shaped shaker pouch, coffee ring stamp set, and the ink pad included in the Banana Split level of the Scrapping for Less January Card Kit to make a coffee card. PLEASE NOTE: All the stamps, the shaker pouch and card, and the patterned paper I used all came from the Scrapping For Less kit. I provided links where possible. Here’s what I did!
Equipment:
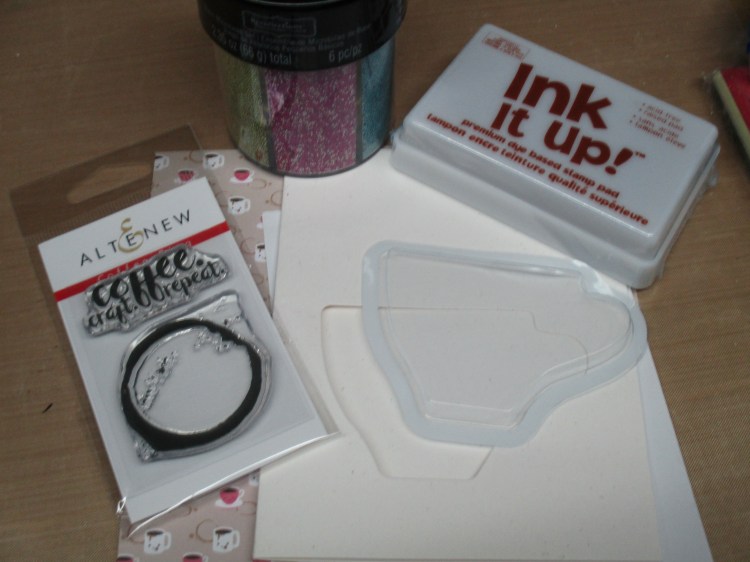
Scrapping For Less January Card Kit (Please note the January kit is sold out, but you can sign up to receive the February kit on the Scrapping for Less website.)
Darice Ink It Up! Dye Ink in Chocolate Brown
Shaped Shaker Pouches (I have no idea where Scrapping for Less got a coffee cup shaped pouch with a matching card with a cut-out, so I linked to My Favorite Things Stamps with all their shaped pouches.)
The Greeting Farm “Perk Up” Stamp Set (Currently sold out, unfortunately.)
Sizzix Framelits Dotted Rectangles
Michaels Recollection Brand Microbead Basics
Scotch Foam Mounting TapeTombow MONO Adhesive Tape Runner
The Idea:
I’ve been intrigued by the shaped shaker pouches since they first started coming on the scene. I also have this caddy full of microbeads I’ve apparently needed an excuse to use in a shaker card. So I decided I would make a coffee-themed shaker card using microbeads as the shaker element.
What I did:

I started by trimming my patterned paper down to 5 1/2 x 4 1/4 to fit the inside of the card behind the pouch. This would be the pattern showing through the shaker pouch. Here’s where it went all wrong.
Things I should have accounted for:
- Shaker pouches only have adhesive on the back side, so to stick to your card, you need to lay down your own adhesive.
- Microbeads are very bouncy. I put down adhesive on the inside of the card to stick down the shaker pouch and the patterned paper I wanted to use as the coffee cup pattern and poured in the beads. They shot out everywhere and of course stuck right to my adhesive. I brushed as many of them off as I could and scraped some others off. Maybe don’t open the spout all the way to pour them like I did.
- It is very unwise to decide you need more stamping on the front of the card after you have put your entire shaker pouch together. They don’t lay flat and it makes stamping hard.
I started out with one of the coffee ring stamps in the upper left corner of the shaker pouch area (See photo).
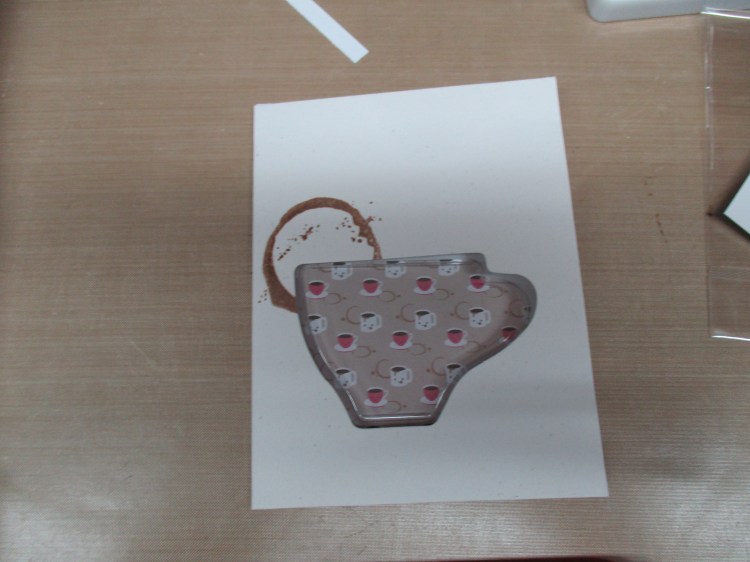
It was cute. I liked it. But it looked very lonely there all by itself. So I thought I would add some rings to the front to make a pattern on the outside. I used the smallest block I could with the size of the stamp and it came out all right. I did the same thing with the tiny hearts, using the corner of a small acrylic block to fill in space.


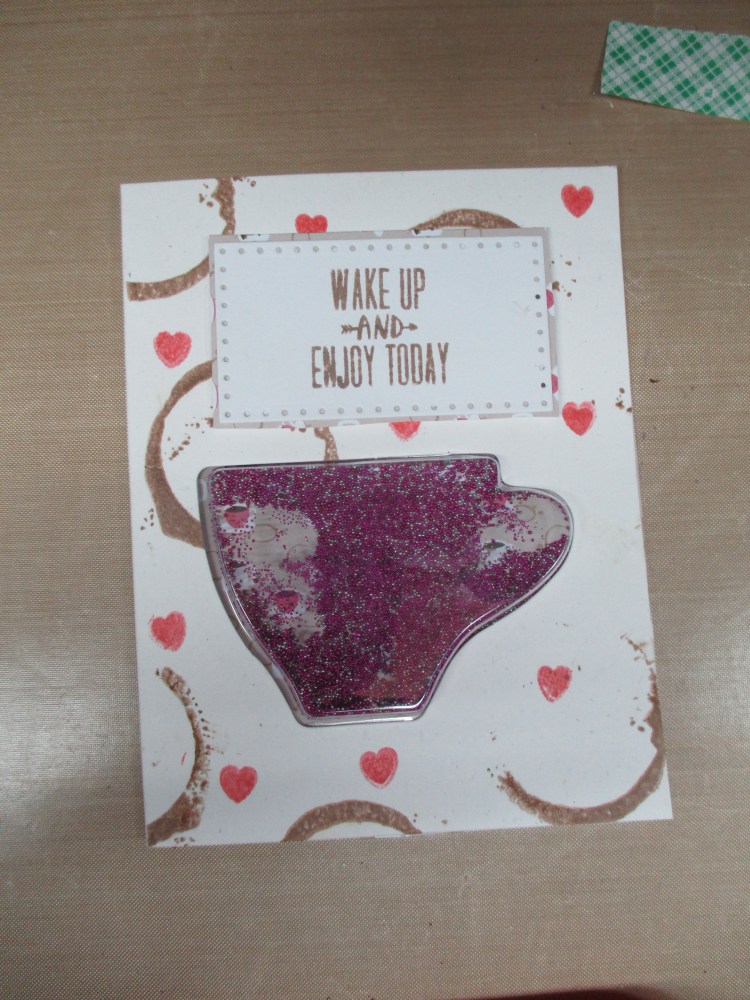
All in all the incomplete coffee rings look more authentic to me, especially that one in the lower right corner. It just reminds me of the kinds of messes you might see after drinking a lot of coffee in your bathrobe on the living room couch, with no plans to go anywhere. Ahem. At least that’s what I’ve heard.
Finally, I needed a sentiment. I decided to stamp the Wake Up and Enjoy Today sentiment from the “Perk Up” stamp set. I stamped it on 80lb Neenah Solar White cardstock and cut it out using the Sizzix Framelits die. I glued that to a scrap of the patterned paper I used to back the shaker pouch and popped it up on some foam tape because clearly this card was lacking dimension.
While the outside of this card looks good, the inside looks not so great and so I’ll chalk this up to a practice card to learn some things.
Thank you for stopping by! Please check out my Facebook page and watch this space for more cards!
